|
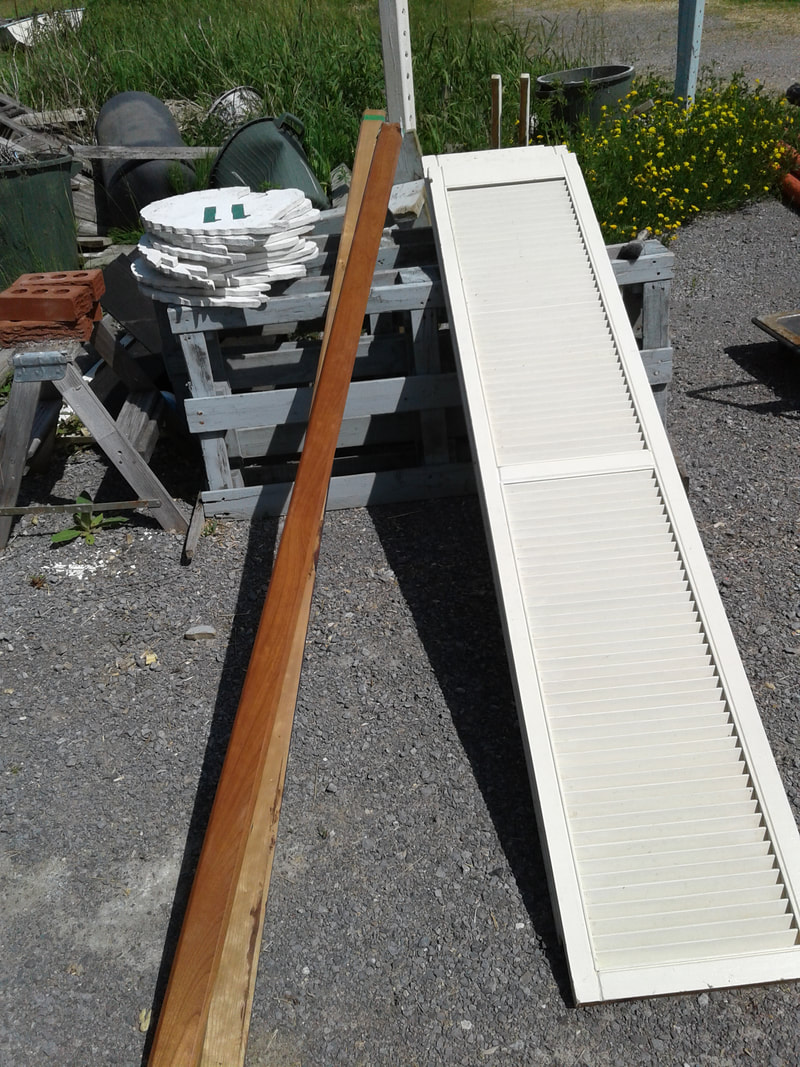
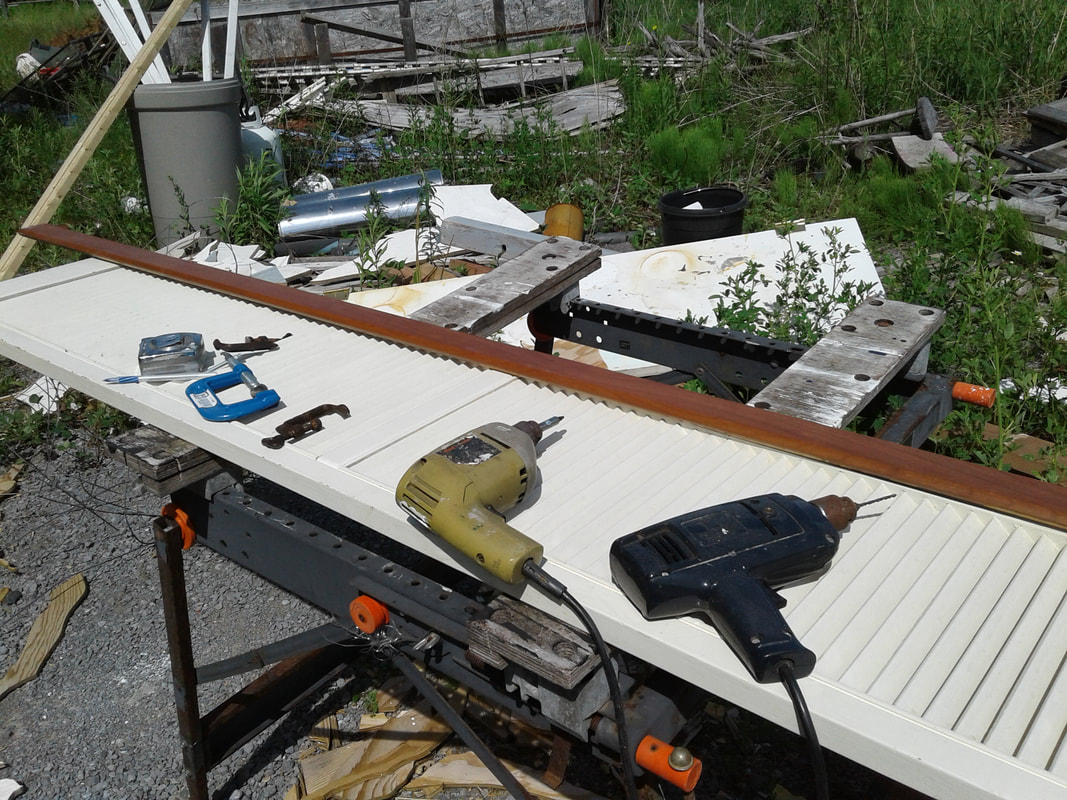
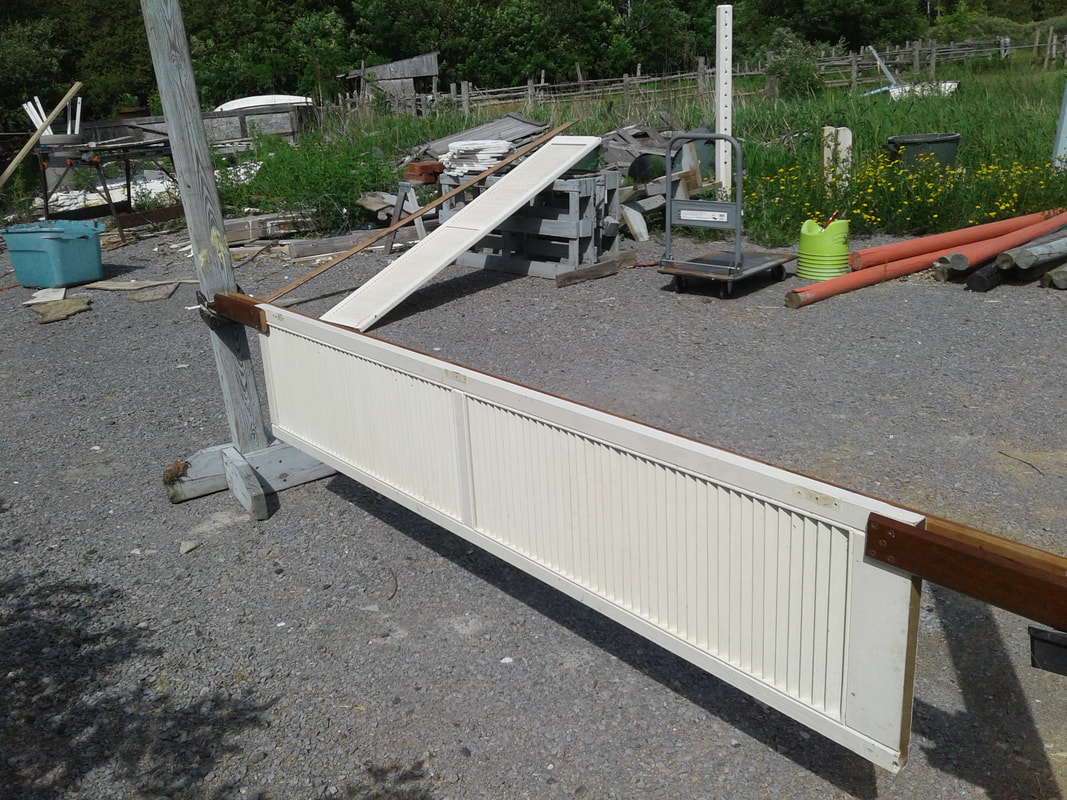
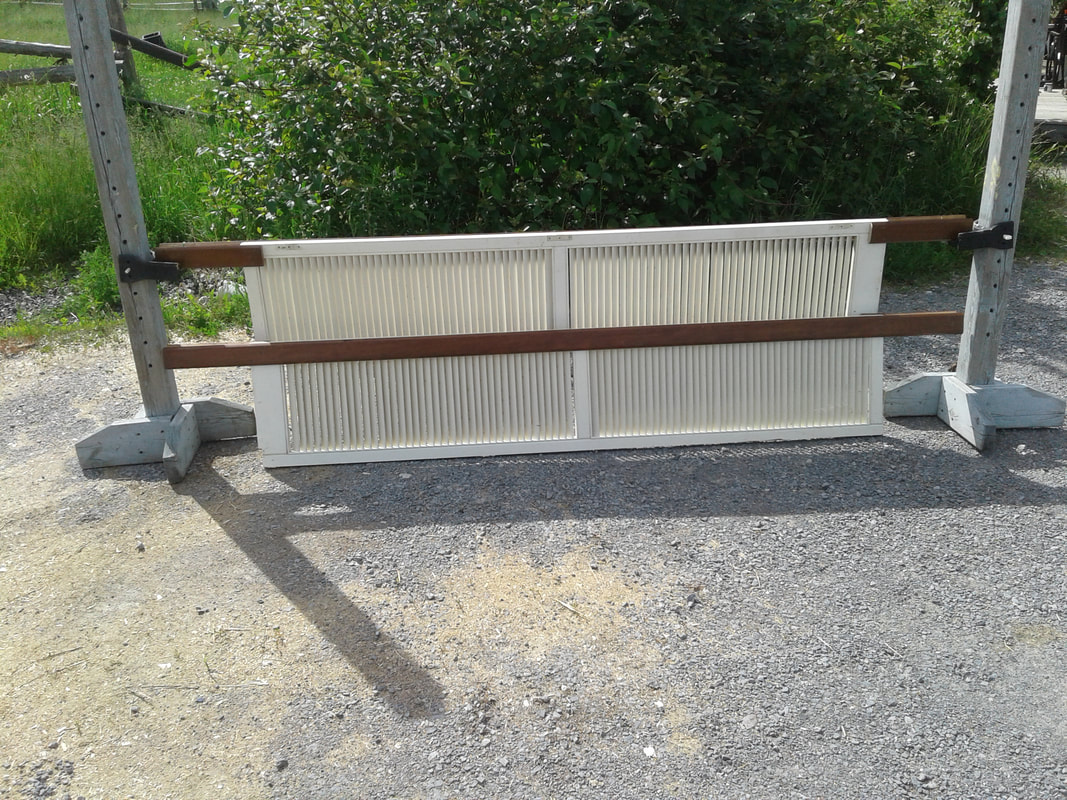
This afternoon I was working on cleaning out my workshop. It isn't an easy task. I tend to collect things, well collect things may be an understatement, hoard things that might be more accurate. Well whatever the word used to define the state of things in the basement, there was a task at hand and today was the day to start. One of the things I wanted deal with is the number of louvered doors I have collected over the years. Most of them I picked up while driving into Carleton Place to catch the bus into Ottawa. I'd see them on garbage day beside the garbage bins at the end of the lane. I assume most came from renovation jobs and were put out in the trash after replaced with more fashionable doors. Seeing perfectly good doors going to the landfill bothers me. I also have this odd condition, when I see wood I think horse jumps. When you put those two things together, I ended up with about 10 louvered doors in the workshop. I also have over the years picked up a lot of hardwood trim that was also going into the trash from renovation jobs. Lots of trim and 2x4s, again it was free and as I said before I can't drive past free wood that's going to the dump. Today I decided it was time to actually make a couple of panel jumps using the louvered doors and trim. First step 1: Get your stuff together. I thought about what tools I'd need, a drill to make holes for screws and a screwdriver to push the screws into wood. A measuring tape and a number of clamps to hold the wood. A pen and a saw to cut the wood to length. Yes and for today's job, two louvered doors 6' tall and two pieces of trim at least 8' long. I also collect tools, I have two drill. One I keep as a screwdriver the other I keep as a drill that way I don't have to change bits all the time. Before you think this is a luxury, I bought second hand and they aren't cordless, so I don't think I paid more than $25.00 per drill. I do have cordless drills but I find these a lot more powerful and I don't have to remember to recharge the batteries. I then hung the panel jump between my standards to see how it looked. It looked great but it swung a bit between the standard so it needed something to stablize the panel from swinging. Easiest thing to do was to use the leftover trim and put attach it to the other side of the panel. That solved the problem and the panel became stable int he jump cups. It took me about an hour and a half to make two panels. As I was trying to figure it out how to do it while doing it, it really was a simple process. I might paint them or I might use them as is. Don't get me wrong these aren't "show" quality jumps. I bothered posting this blog to show that you don't have to spend a ton of money to make jumps to help you prep for a show. This jump cost me less than 2 bucks to make as the only thing I had to buy was the screws. I'm in no way saying that these panels will hold up to a lot of use, but if you want to get your horse used to different looking jumps, then why not give it a try. The bonus for me is I now have a little less clutter in the workshop, well that might be an exaggeration.
|
Elizabeth HayI've been a journalist and producer with CBC Radio for over 27 years. I now focus my time on my horses, my art, my fitness and my garden. Archives
June 2018
Categories |
Proudly powered by Weebly
 RSS Feed