|
The fox jump decoration of filler continues to evolve. I like the shape there are a couple of adjustments I need to make. Today I added some black details which I think have improved the overall look and helped the filler pop. It is not quite the way I want it yet but it is getting closer to something I'm happy with. What will be great about this design is that it will be easy to ship out. As soon as I have it the way I want it I will test it out in the sand ring.
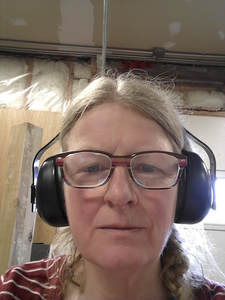 A number of people have expressed an interest in how I go about creating my jump fillers, or garden art creations. I thought I'd take a moment today to walk you through one of the sets in making a dog. It starts with a drawing. I have an number of general dog shapes and designs already created. I'll share that process with you another day, today is all about the cutting out. I first transfer the drawing to a half inch piece of plywood. I like working with plywood with a fine finish. It saves a lot of time filling in knot holes etc.g Once the drawing is on the board it's ready to cut out. The most important first step is safety equipment. If your are operating any kind of electric saw for any length of time you need ear protection. And if you are working with power tools, or frankly any kind of tool at all you need eye protection. 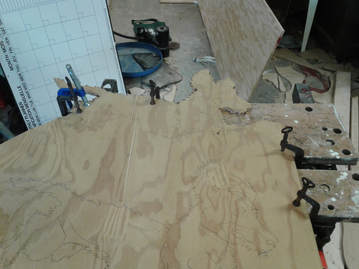 Now that safety equipment is on, you need to fix your plywood with the drawing onto a a workmate type work bench. If you want to cut with any detail the plywood must be firmly attached to the bench so it won't move in any way at all. I use a number of cast iron clamps that my mother and grandmother used on their quilting frames along with a larger clamp I got from Princess Auto. My Mom's clamps work the best.
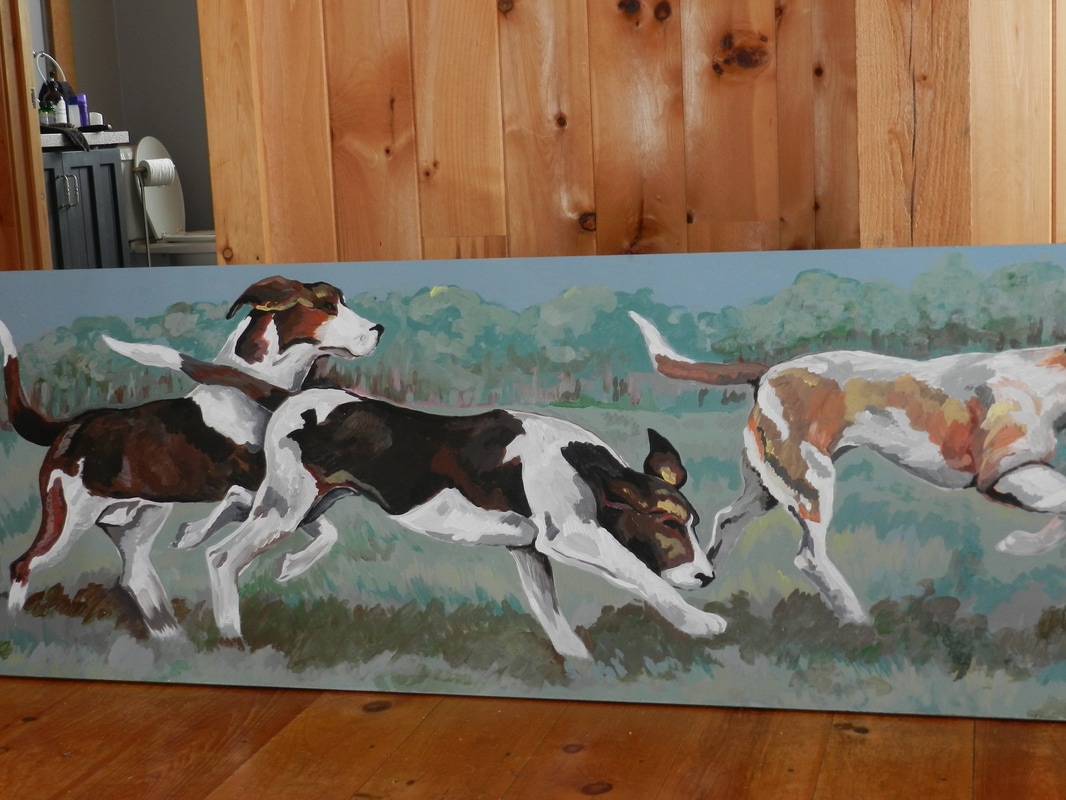
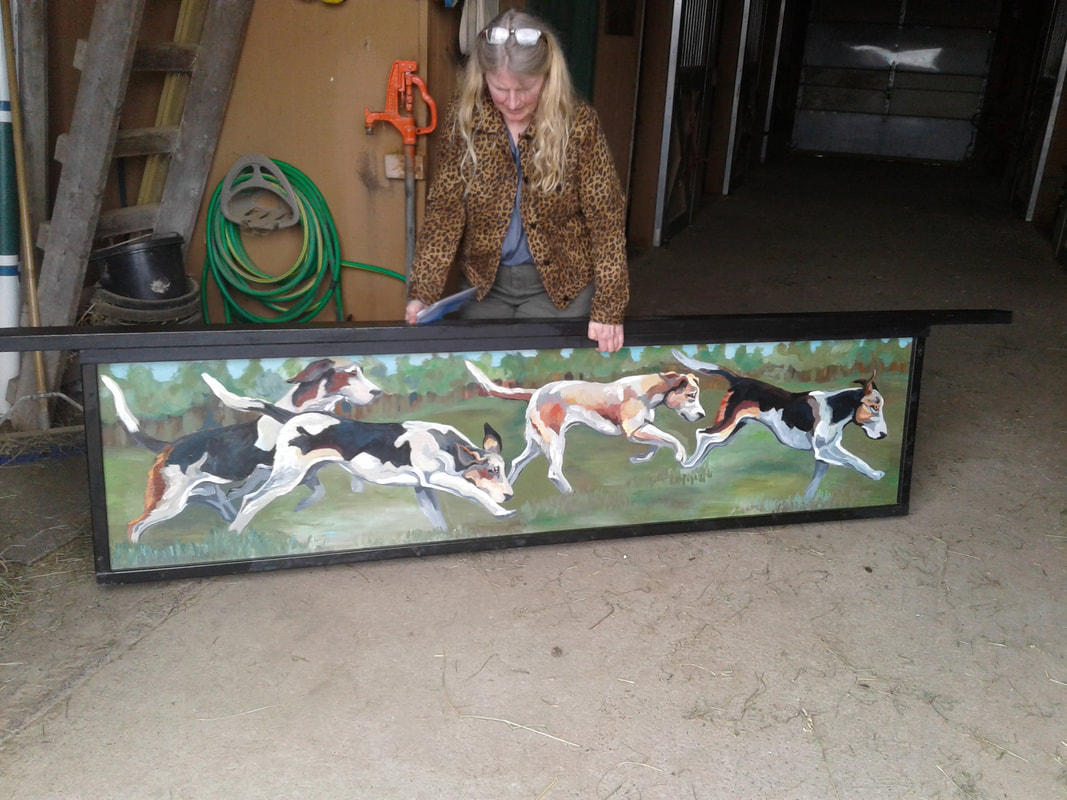 Well I am home from my first trip south delivering jumps to my customers in the USA. I am now spending my morning contemplating the adventure and reflecting on all that took place in the last 6 days. It is odd this second career I've taken on in this stage of my life. I have picked up a passion of my youth, painting and combined it with another life time passion horses. It some how finally seems like I have it right, that I've finally found a way to live that works for me. These last few month I've been working on sketches, cutting wood endlessly, priming and painting then do a spot of framing as well. My home has been a mass of chaos. There have been weeks and weeks where there wasn't a seat to sit on or a space that didn't have a pot of paint or a piece of wood covering it. Through it all John supported my unique living arrangement, he seems to understand that my priorities in life are very different than most "normal" people. He is a dear. Anyway I feel he has been patient enough and so my next priority is getting the workshop studio downstairs functional and leave the upstairs to the humans and the cats. Now back to the trip. The work was done the items finished, but all commissions were going to people who'd never seen my work in person. While some days I find painting and drawing stressful, actually taking the work to the people who have bought it can be rather intimidating. The only way I can handle that stress is with the caveat that if the customer doesn't like it or if it's not what they expected they don't have to take it. They keep their money and I keep the work. I only want happy customers. So with that stress lifted we loaded the horse trailer with 4 panels, the back of the truck with 4 large foxes and numerous cut out hounds, foxes and chickens and headed south. Our first stop was north of Kingston, Lenora Tuppenney Scriver has bought a number of items from me. This delivery was one of my favourite panels, I call it the Foxwood High Panel as made it the first time as a fundraiser for Selena O'Hanlon and Foxwood High. I was thrilled to get an opportunity to recreate the jump which was to be a surprise gift for Lenora's friend Barbara Down. 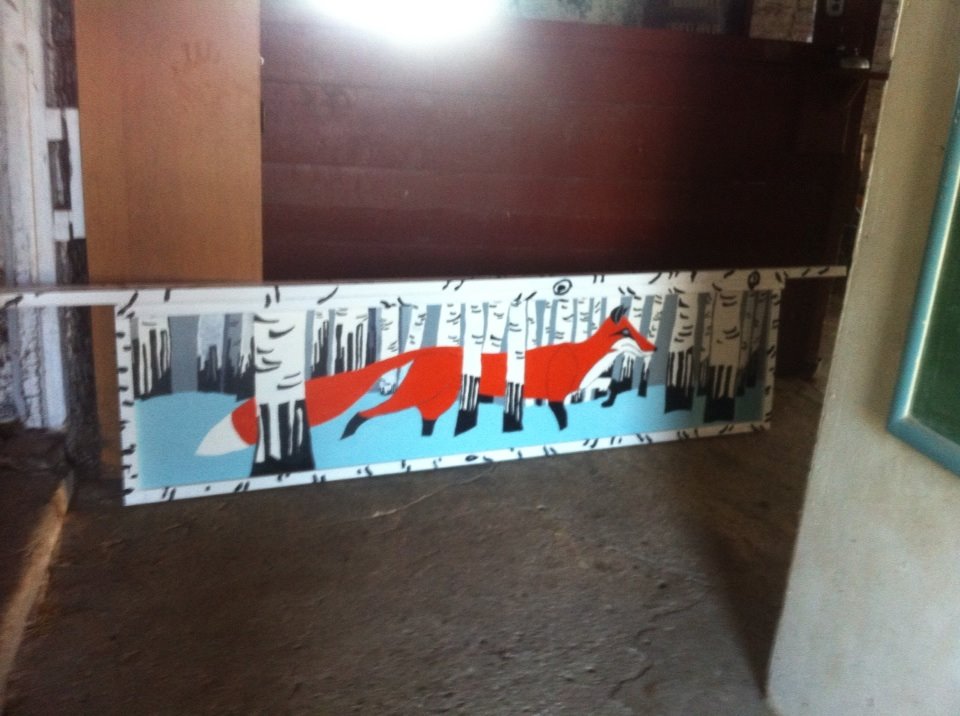 Then off to the USA and New York State. Our next delivery was to Renee' Eddy who wasn't going to see her 2 panels for 5 days as she was away. I'd sent photos....but you worry until you get the ok that the panels are what she wanted. The hound panel and the hunt scene panel both had the Limestone Creek Hunt emblem on the back. I just started doing this stylized fox design this winter, I call it my Hermes look as the orange very much their colour. 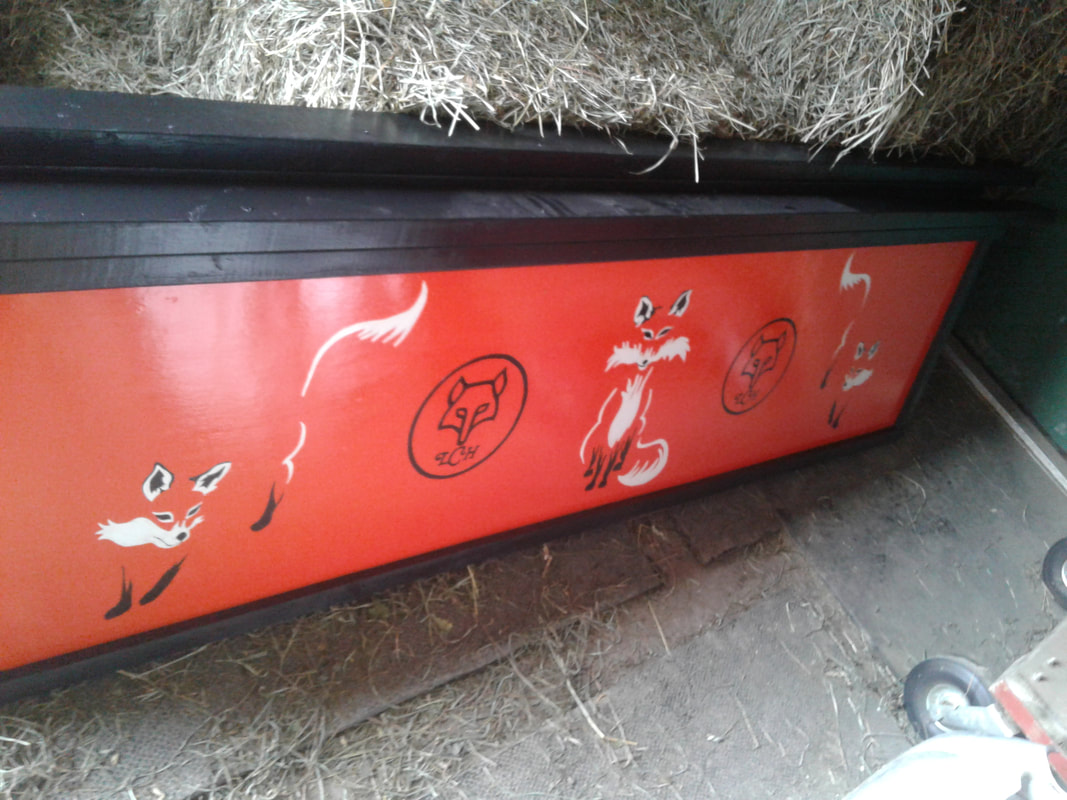 Then down the road to Maryann Weidman to drop off her Mr.&Mrs. Fox. This is also a new design for me and I love making these sassy foxes. Maryann wasn't there and gave the responsibility of receiving the creatures to her husband. The foxes looked right at home at Fox Meadow Farm. 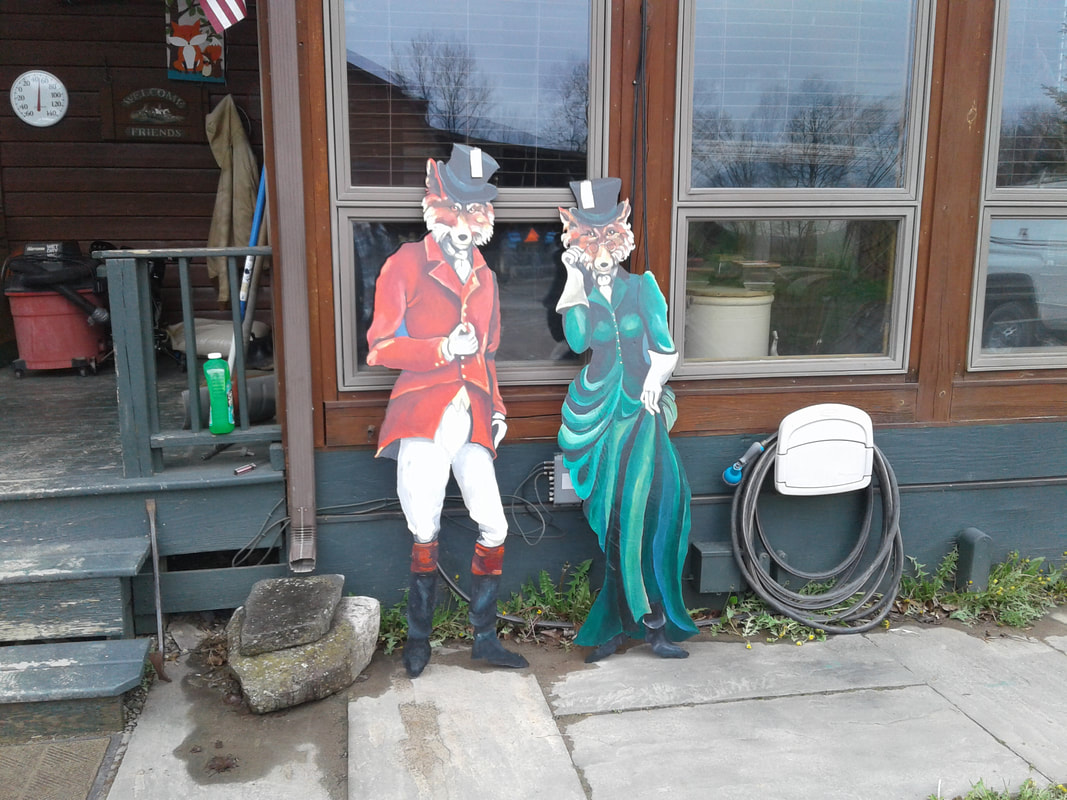 Day 2 found us in Littletown Pennsylvania at Kitty Hofmann's lovely farm. We dropped off 4 hounds, 2 Ramblers and 2 Chanters along with 2 running foxes. Kitty was kind enough to give us a tour of her incredible farmhouse and property. I really have to up my game with my garden this year. It really was a joy to meet Kitty and talk horses, gardening and hunting adventures. 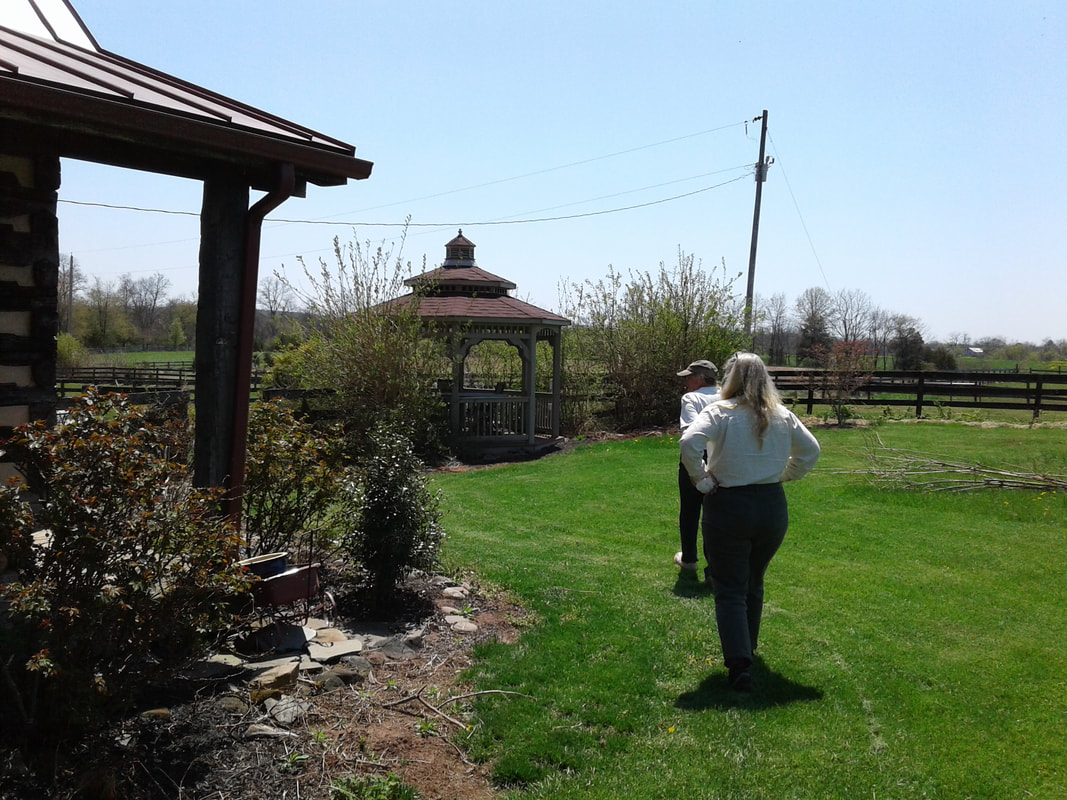 Day 3 was Virginia, first to Rachel Howell beautiful Quiet Haven Farm. Rachel had been waiting for her panel and her chickens since last fall. She happens to have one of the most beautiful indoor arenas I've ever seen in my life. I was so busy staring at the arena I forgot to take a photo of it. Next time I'm back, Rachel got a peak at my Buckingham Foxes that were for our next stop and has requesting a set of those fancy boys for my next trip south. Rachel and her husband are in the midst of building their new home set on a hill just outside of Washington. Quiet Haven Farm is the perfect name for this beautiful farm.  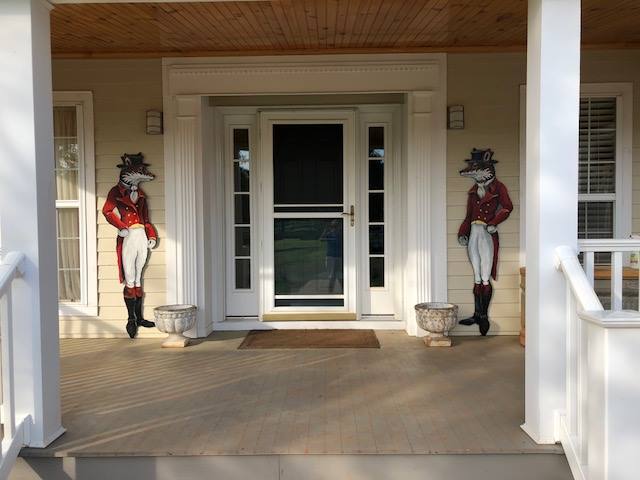 Our final delivery was a set of Buckingham Foxes to Greta Siemen in Orange VA. Another lovely farm with thousands of acres of riding in all directions. I am so jealous of the land that people in this state have access to ride their horses, to be able to hack out for hours right out of your barn would be incredible. The Buckingham Foxes were at home the second they arrived and before we'd left the state, Greta had sent us a photo of the boys looking lovely on either side of her front door.
|
Elizabeth HayI've been a journalist and producer with CBC Radio for over 27 years. I now focus my time on my horses, my art, my fitness and my garden. Archives
June 2018
Categories |
 RSS Feed