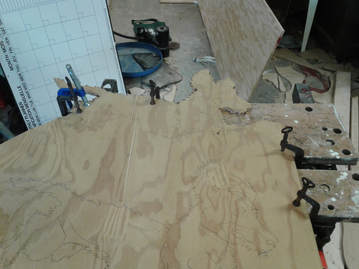
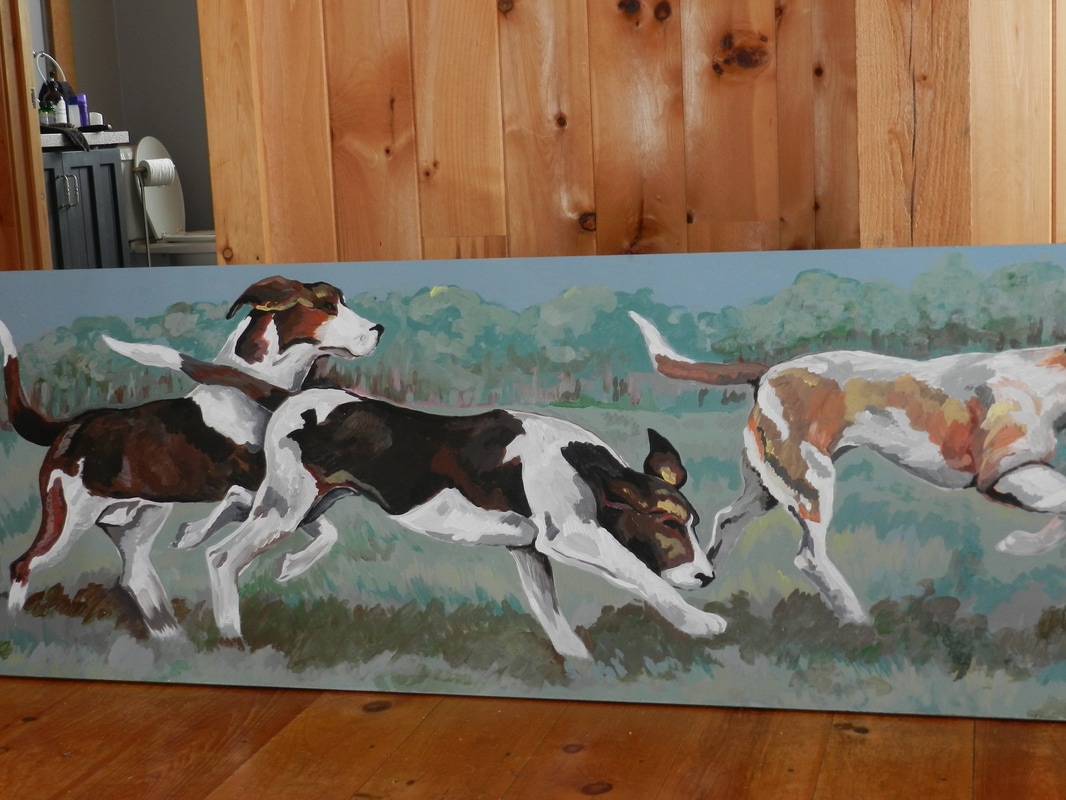
 A number of people have expressed an interest in how I go about creating my jump fillers, or garden art creations. I thought I'd take a moment today to walk you through one of the sets in making a dog. It starts with a drawing. I have an number of general dog shapes and designs already created. I'll share that process with you another day, today is all about the cutting out. I first transfer the drawing to a half inch piece of plywood. I like working with plywood with a fine finish. It saves a lot of time filling in knot holes etc.g Once the drawing is on the board it's ready to cut out. The most important first step is safety equipment. If your are operating any kind of electric saw for any length of time you need ear protection. And if you are working with power tools, or frankly any kind of tool at all you need eye protection.  Now that safety equipment is on, you need to fix your plywood with the drawing onto a a workmate type work bench. If you want to cut with any detail the plywood must be firmly attached to the bench so it won't move in any way at all. I use a number of cast iron clamps that my mother and grandmother used on their quilting frames along with a larger clamp I got from Princess Auto. My Mom's clamps work the best.
Your comment will be posted after it is approved.
Leave a Reply. |
Elizabeth HayI've been a journalist and producer with CBC Radio for over 27 years. I now focus my time on my horses, my art, my fitness and my garden. Archives
June 2018
Categories |
Proudly powered by Weebly

 RSS Feed